In this tutorial, we're going to create a new decoration in the mod; no special programming knowledge is required.
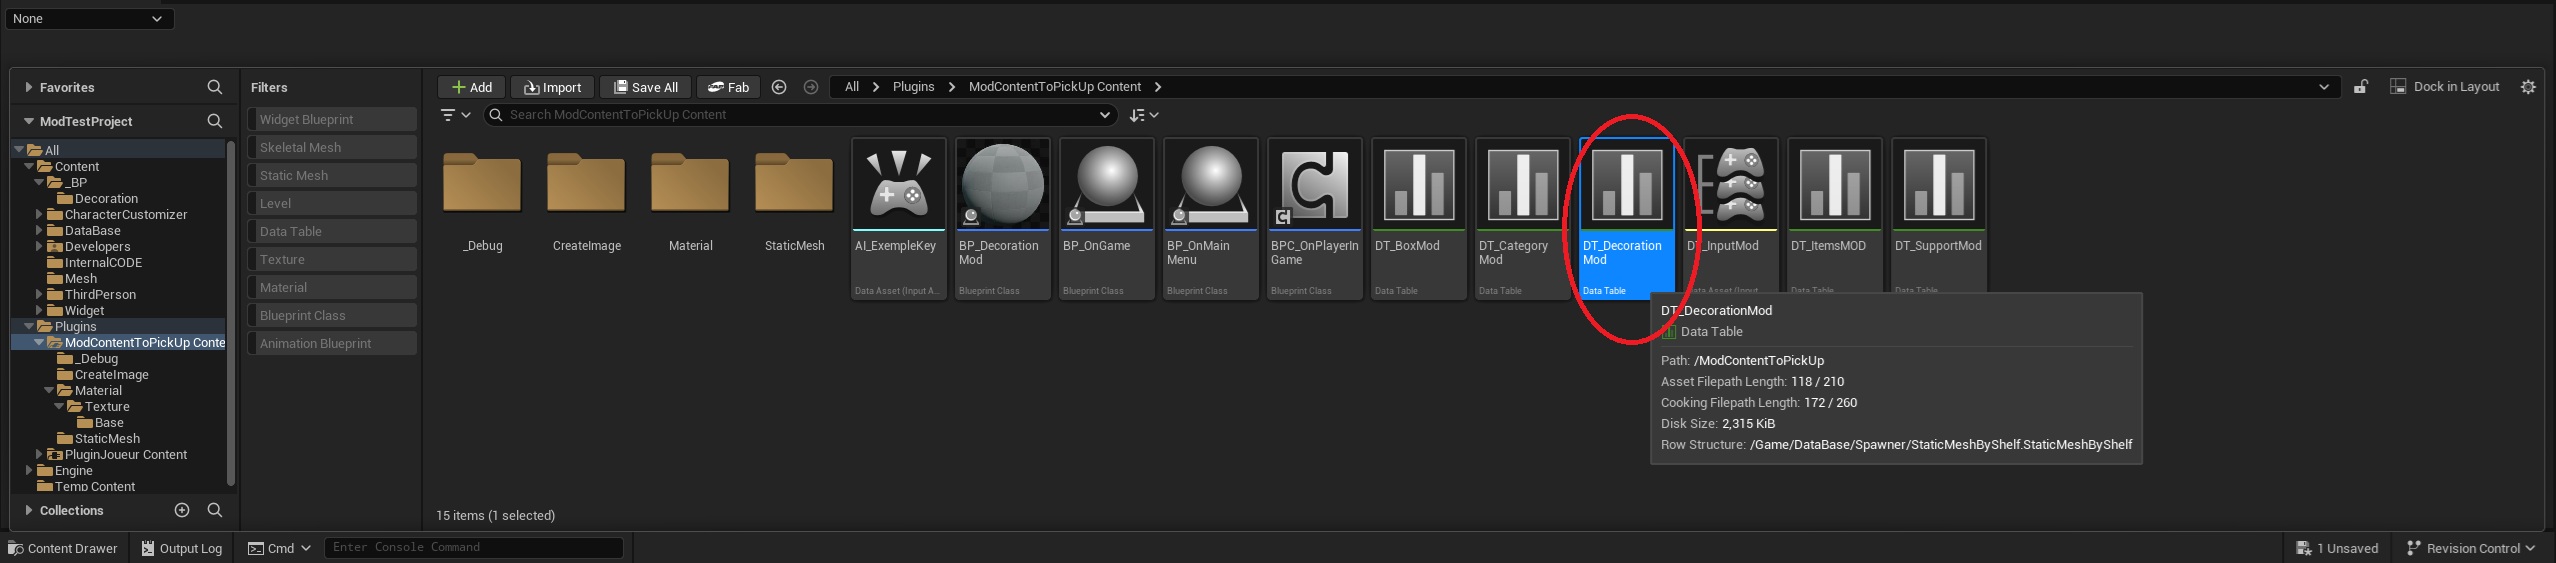
First, we'll open the "DT_decorationMod" data table:
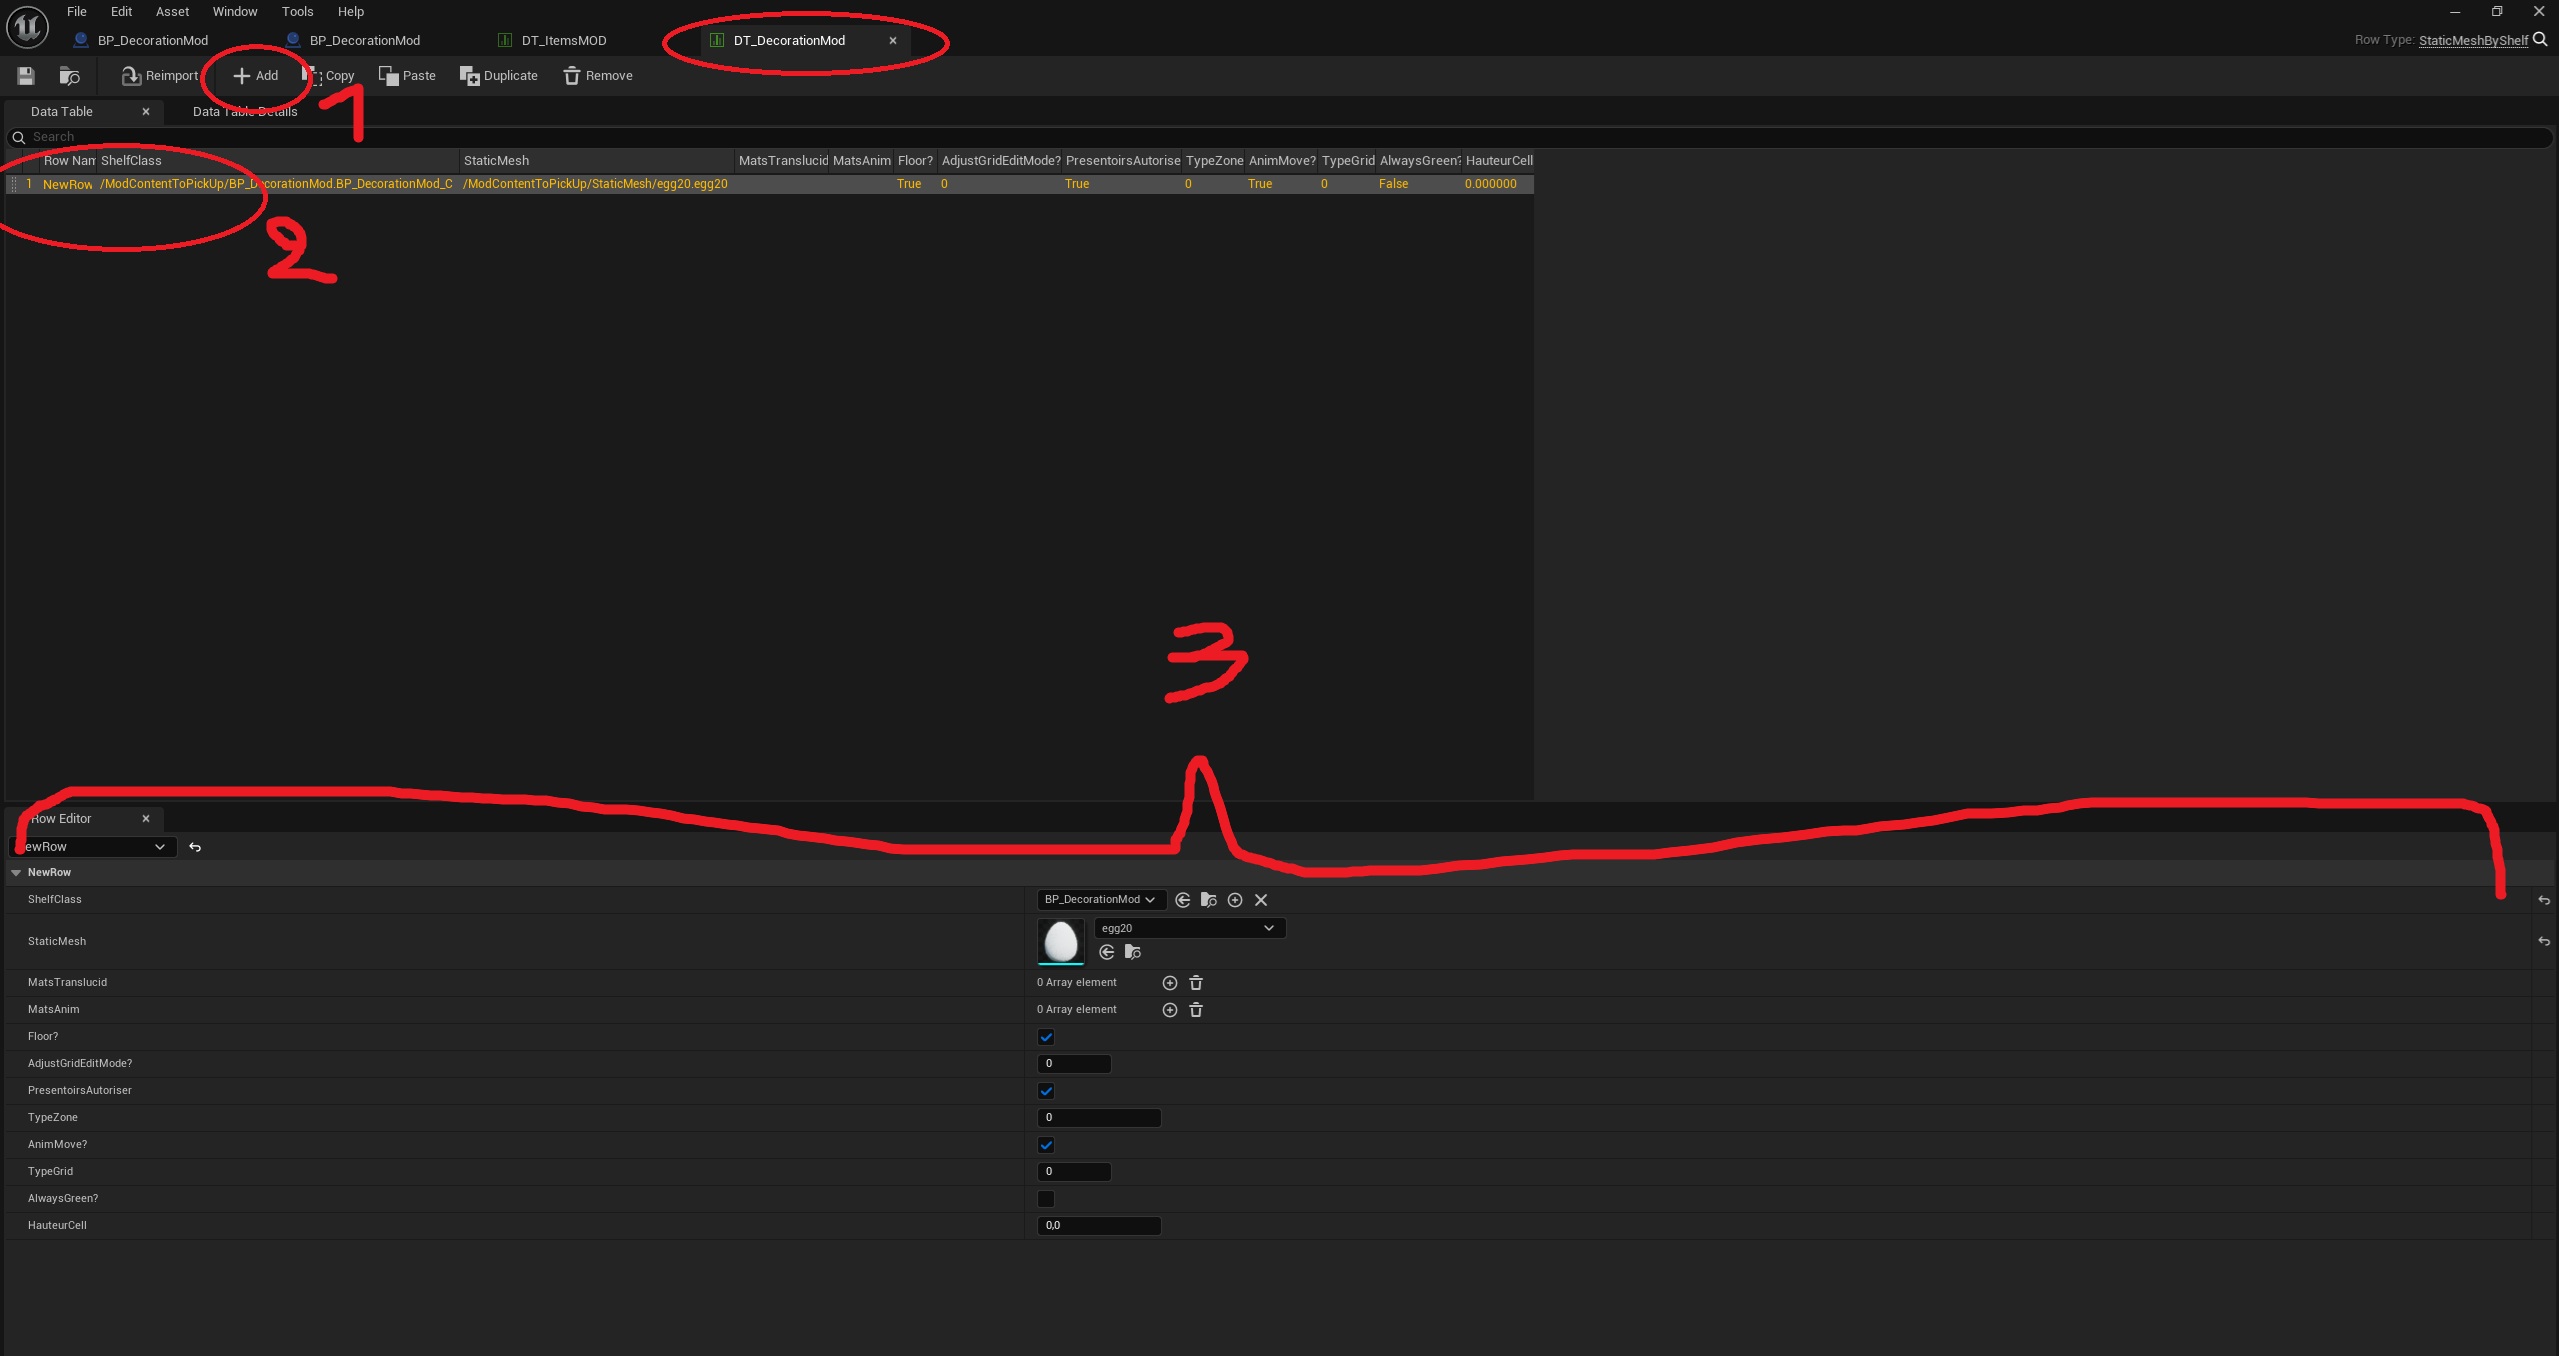
Here is the data table interface. First, we'll create a row by clicking “Add” in the upper-left corner of the screen, then select the row that was just created, and finally change the settings at the bottom.
(Note that if some tabs are missing from your menu, you can display them by clicking “Windows” in the upper-left corner and then selecting the missing windows.)
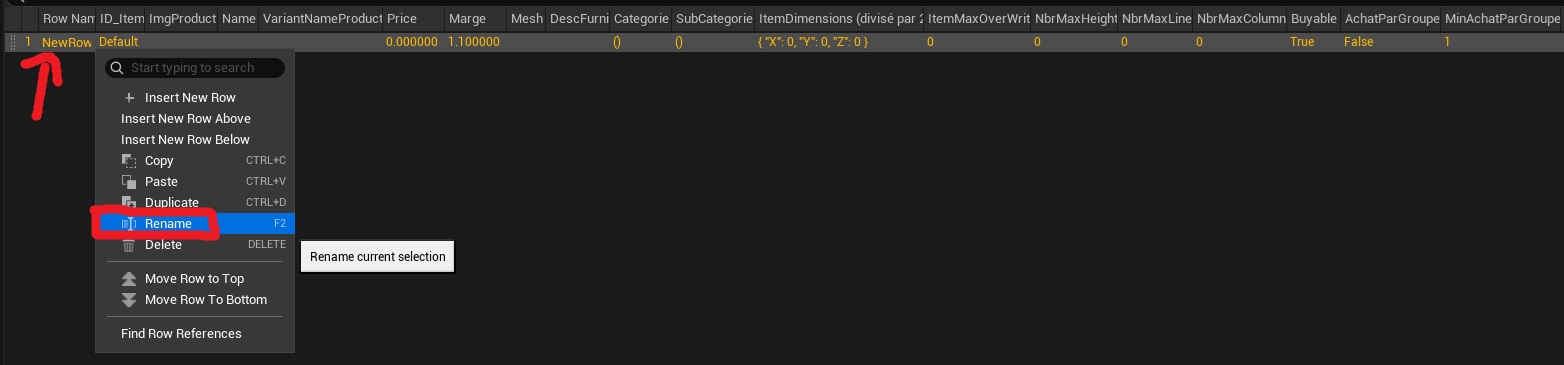
So first, you need to create a unique identifier for each decoration; each row of data corresponds to one decoration.
(This ID should be as short as possible and must not contain spaces, special characters, or accents.)
You can assign an ID to a line by right-clicking on it and selecting “Rename.”
Next, you can move on to the bottom section with all the variables to set. Here's what the tab looks like in the image:
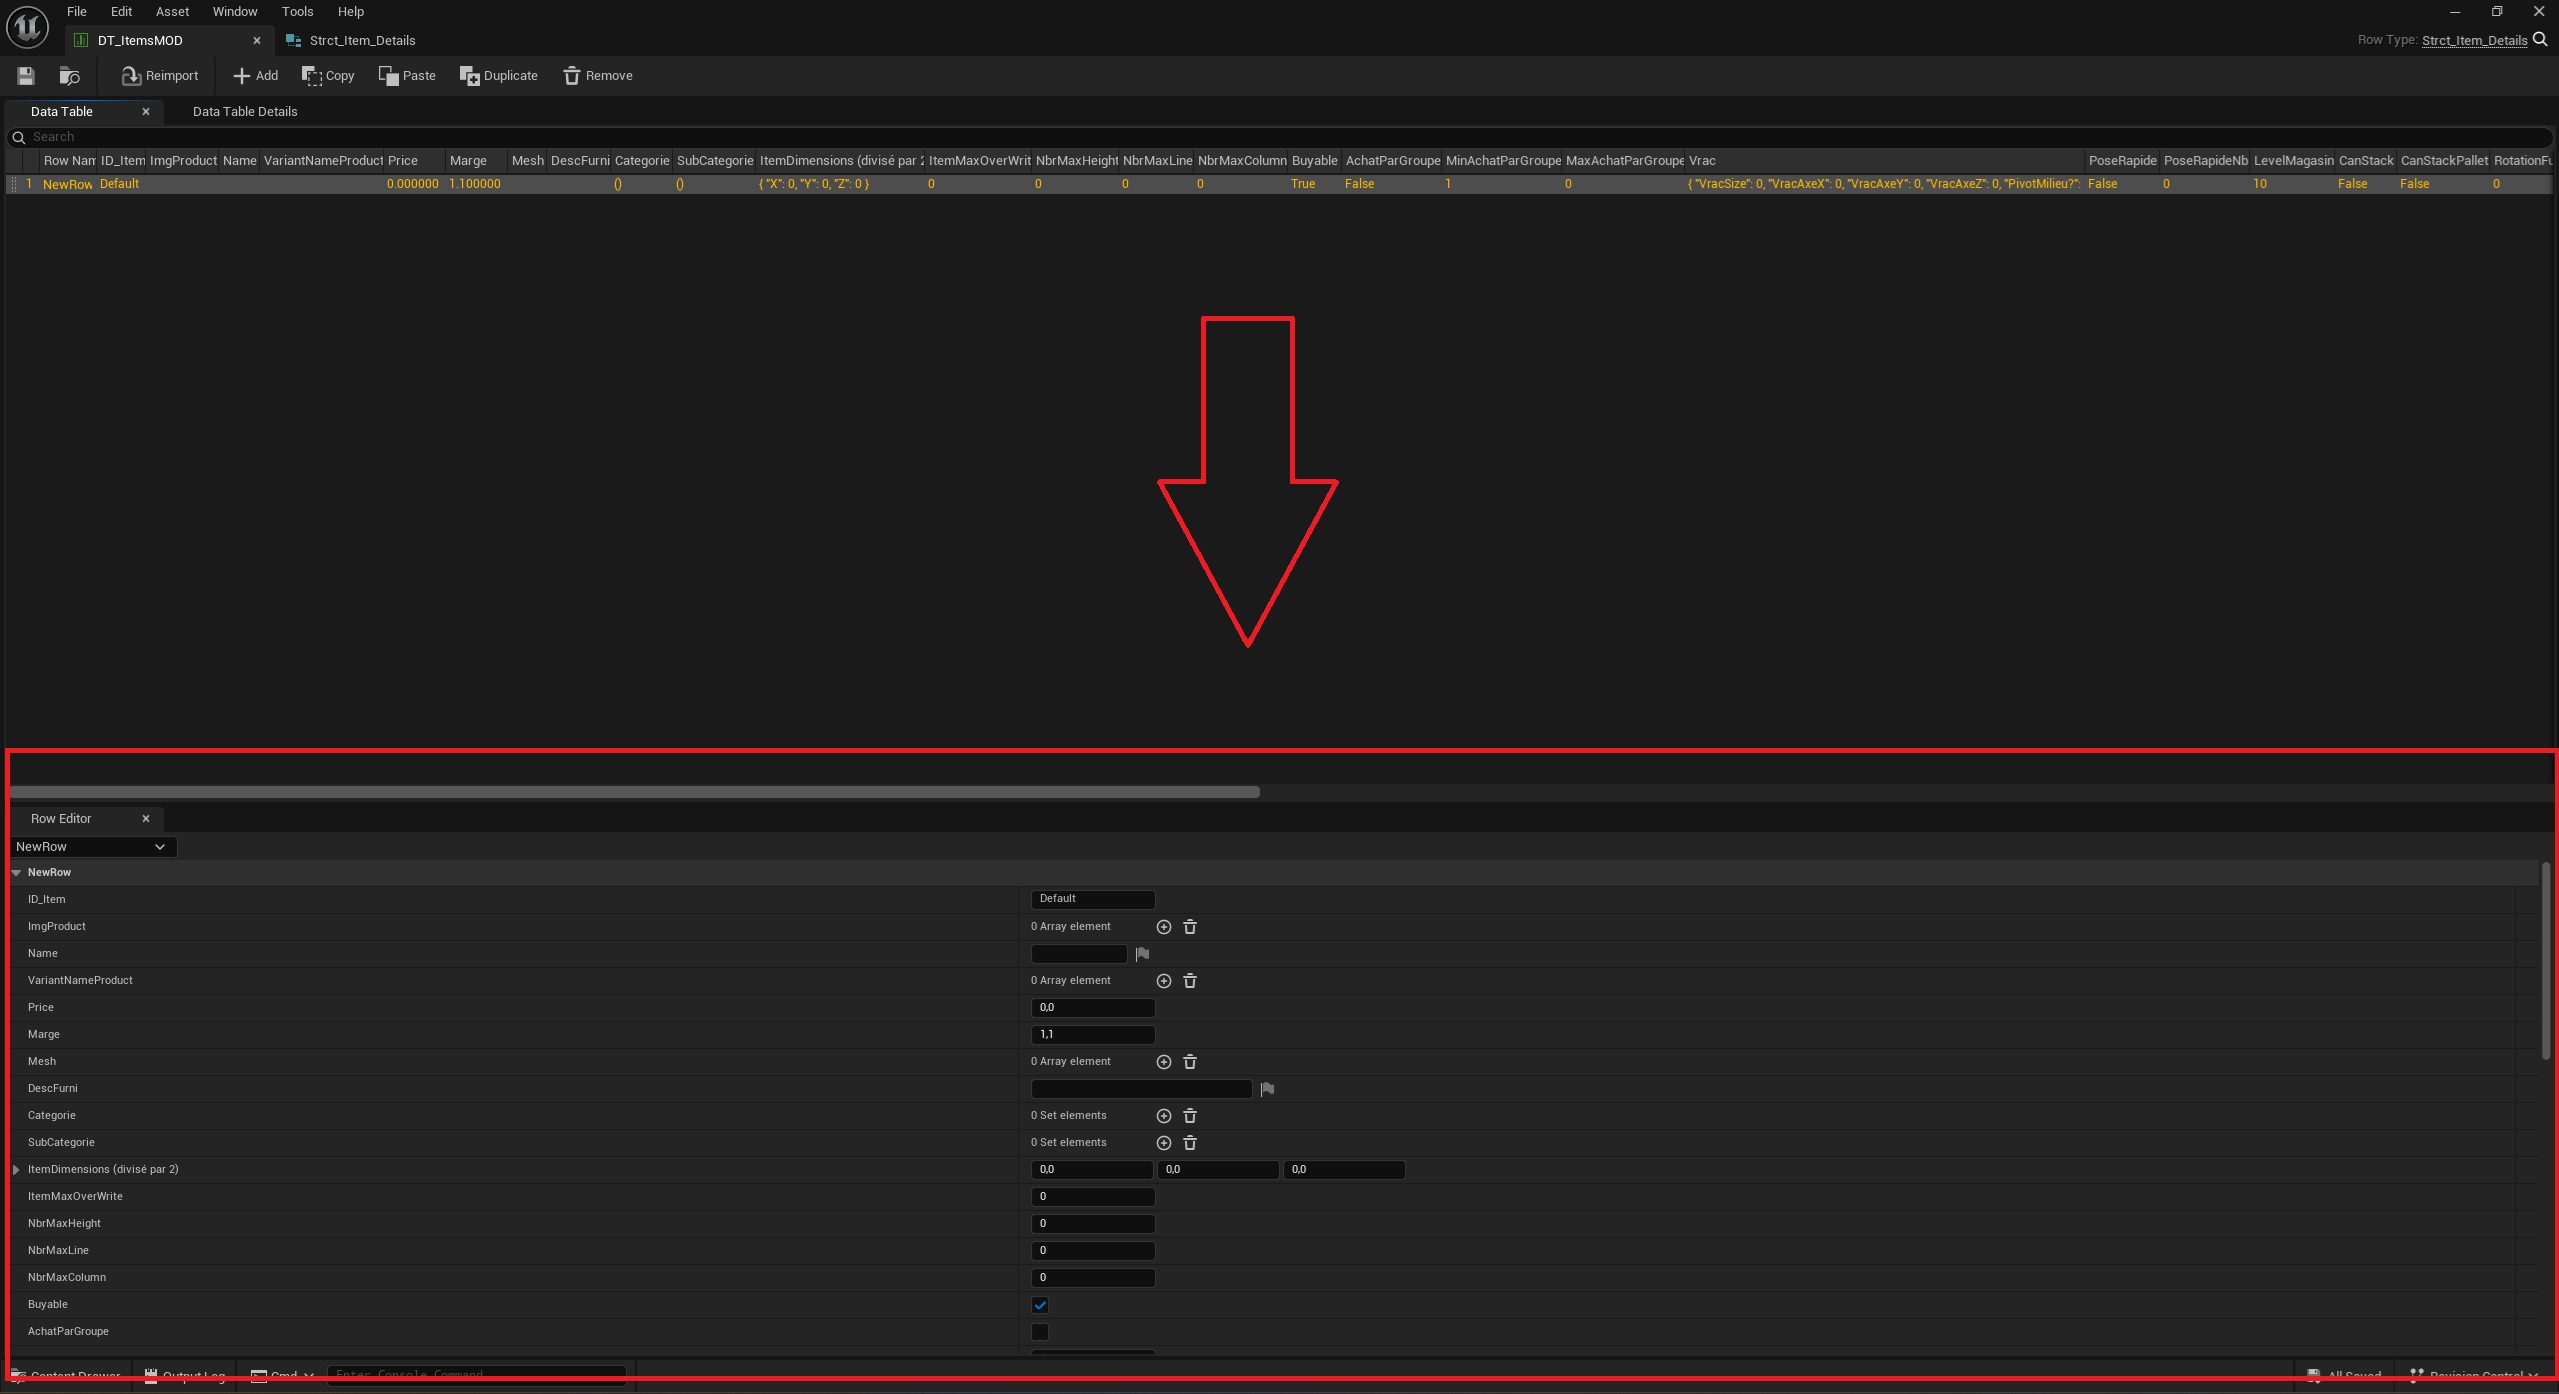
Here is a list of all the variables, along with their types and how to initialize them correctly:
Actor class- Here you must put the blueprint "BP_Decoration"
StaticMesh - Here you must enter the static mesh of your decoration (please verify that the static mesh of the decoration entered here is identical to that of the data "DT_DecorationMod" otherwise the decoration will not be placed).
Material instance- You can leave this blank; the game will create the material for you ;D
Material instance- You can leave this blank; the game will create the material for you ;D
Bolean - Here you check the box if the decoration is placed on the floor, and uncheck the box if it is placed on a counter.
Byte - This option is only for people who have unchecked the "Floor" option. Here you can choose which countertop the decoration can be placed on.
Bolean- It has no use for decorations. Leave unchecked.
Integer - This option is only for people who have checked the "Floor" option. Here you can choose which countertop the decoration can be placed on.
Bolean - Here you can check the box if you want an animation to play when the item is placed and a slight rotation to occur when you move the shelf. Uncheck it if you don't want any animation (it's useful to uncheck this on floors as it doesn't look good).
Byte - Enter 0 if the decoration is placed on the floor or on a counter, enter 2 if the decoration is placed on the walls.
Bolean - If you don't want the decoration to detect a collision when you place it too close to a wall or if it passes through a shelf, for example (useful for floors, for example)
(For large items, which take up a lot of floor space, checking this box provides significant optimization because collision calculation is not optimized for large objects)
Float - Here you must specify the height from which your decoration should be placed, measured from the floor (only for decorations that are placed on the ceiling).