In this tutorial, we're going to create a new support in the mod and see how to use the ones already in the game; no special programming knowledge is required. First, we'll see how to use a support already in the game:
You can't modify the support that are already in the game, but you can use them for item data, for example.
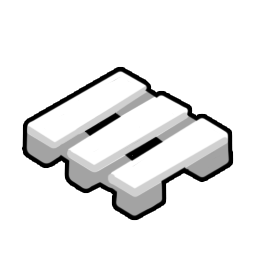
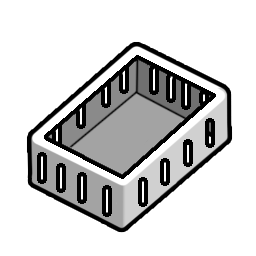
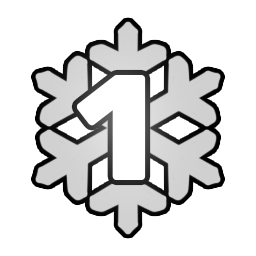
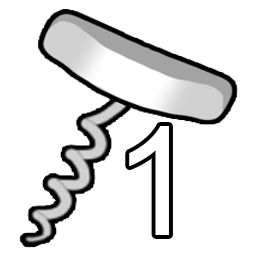
Here is a list of the support in the game, along with their IDs/name, which can be entered into the item data. And their Display name in-game between "" and with a photo of each support to the right.
|
Plaque "Plate" |
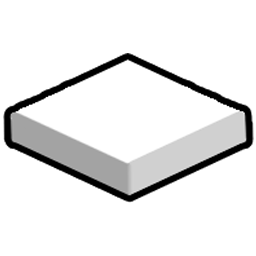 |
Broche "Pin" |
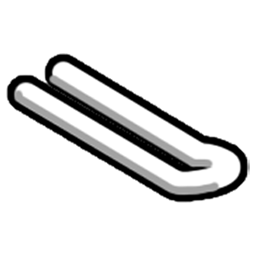 |
Panier "Basket" |
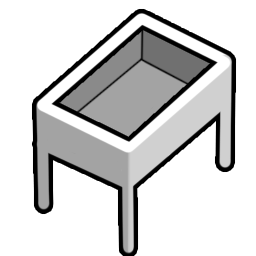 |
Frigo "Fridges" |
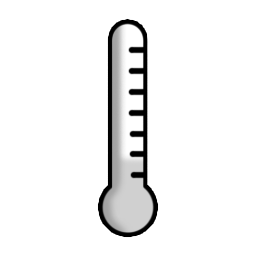 |
|
PlaquePallet "Pallet" |
 |
Cagette "Crate" |
 |
VendingMachineE1-E2 "Vending machine" |
 |
VendingMachineE3-E4 "Vending machine" |
 |
|
Congélateur01 "Freezers" |
 |
Congélateur02 "Freezers" |
 |
ShelfWineA "Wooden wine shelf" |
 |
ShelfWineB "Wooden wine reverse rack" |
 |
|
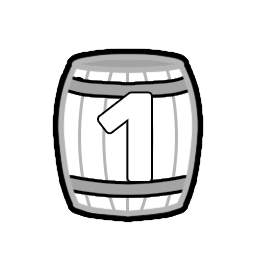
Tonneaux01 "Barrel" |
 |
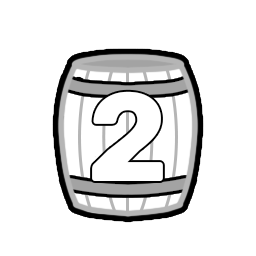
Tonneaux02 "Half barrel" |
 |
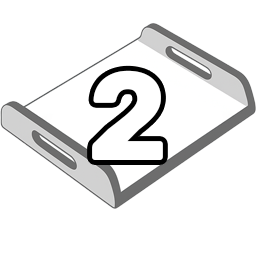
BakeryTrayL "Large tray" |
 |
TrayBread "Bread tray" |
 |
|
ShelfBread "Bread shelf" |
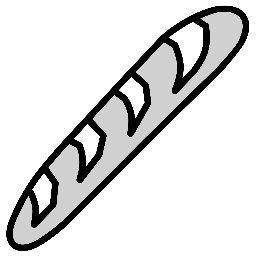 |
Cakes "Cakes" |
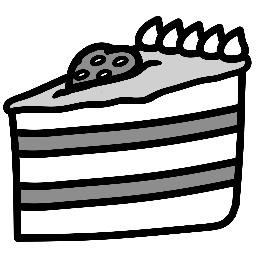 |
Chocolat "Chocolat" |
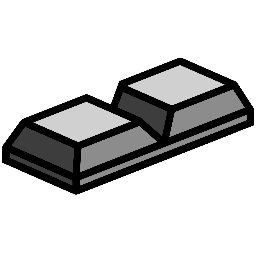 |
SachetBiscuitGlass "Glass shelf" |
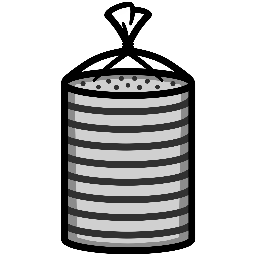 |
|
FishVrac "Vrac Fish" |
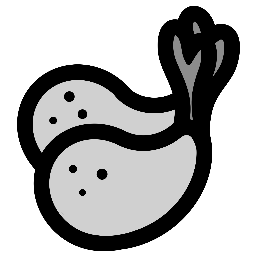 |
FishAquarium "Aquarium Crustaceans" |
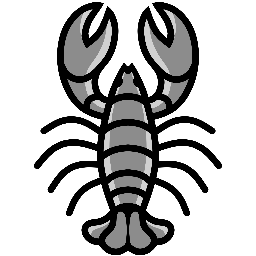 |
FishTrad "Fisher shop" |
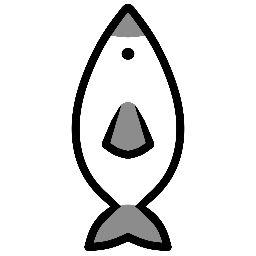 |
FishPackage "Packaged fish" |
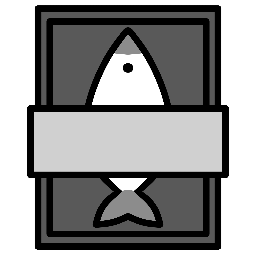 |
|
MeatTrad "Butcher shop" |
 |
MeatPackage "Packaged meat" |
 |
BijouxOreille01 "Display oreille01" |
 |
BijouxOreille02 "Display oreille02" |
 |
|
BijouxBague "Display bague" |
 |
BijouxWatchBracelet "Display watch" |
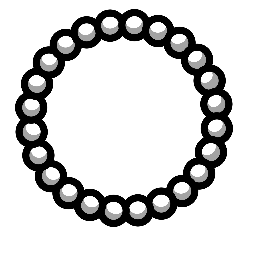 |
BijouxWatchBracelet "Display watch/bracelet" |
 |
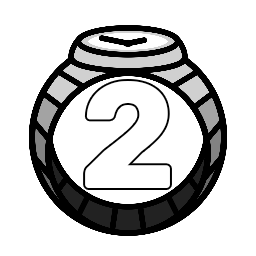
BijouxWatchGousset "Display watch" |
 |
|
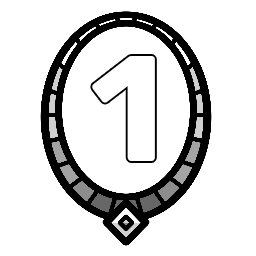
BijouxCollier01 "Necklace display" |
 |
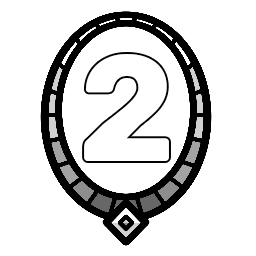
BijouxCollier02 "Necklace display" |
 |
BijouxCollier03 "Necklace display" |
 |
BijouxCollier04 "Necklace display" |
 |
|
BijouxCollier05 "Necklace display" |
 |
BijouxCollier06 "Necklace display" |
 |
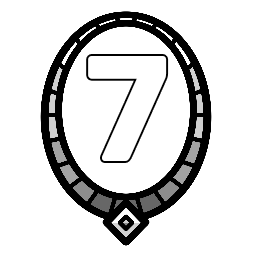
BijouxCollier07 "Necklace display" |
 |
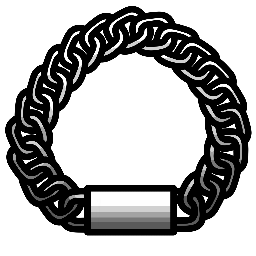
BijouxChain "Display chains" |
 |
|
LittleBasket "Pet toys" |
 |
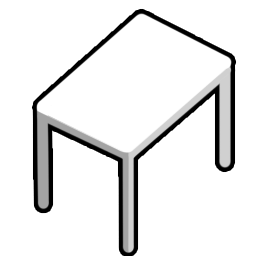
Table "Table" |
 |
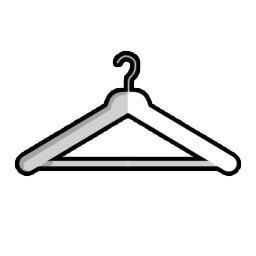
PortantRond "Clothes hanger" |
 |
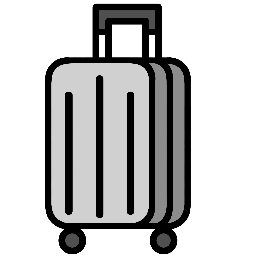
Suitcase "Suitcase" |
 |
|
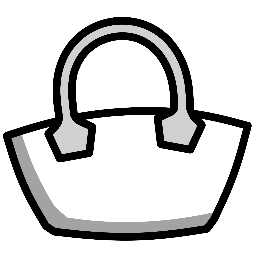
Bag "Bag" |
 |
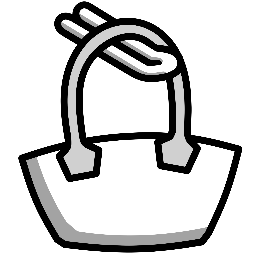
BagBroches "Bag Broches" |
 |
Belts "Belts" |
 |
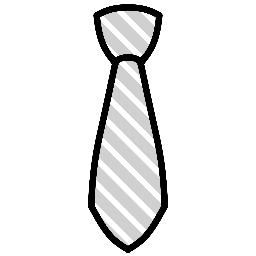
Ties "Ties" |
 |
|
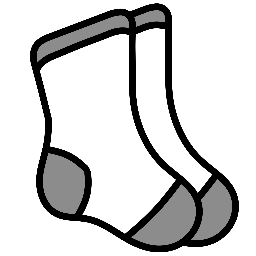
Socks "Socks" |
 |
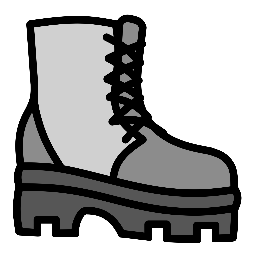
Shoes "Shoes" |
 |
ClothesFolded "Clothes folded" |
 |
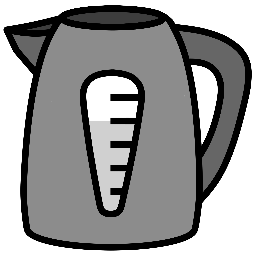
ElectronicTV "Home appliances" |
 |
First, we'll open the item data table: "DT_SupportMod"
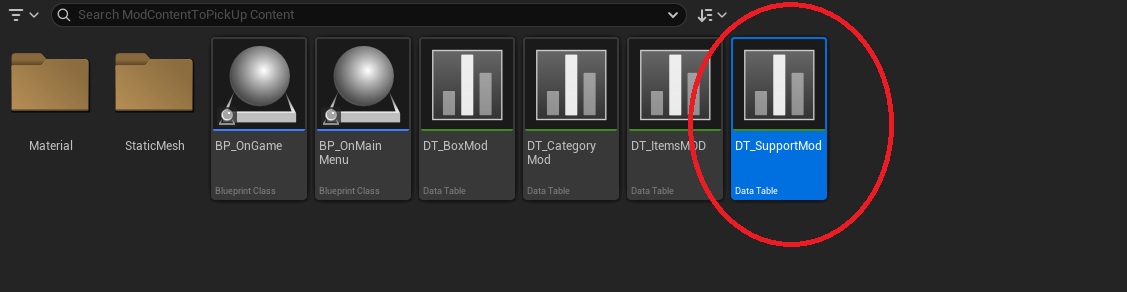
Here is the data table interface. First, we'll create a row by clicking “Add” in the upper-left corner of the screen, then select the row that was just created, and finally change the settings at the bottom.
(Note that if some tabs are missing from your menu, you can display them by clicking “Windows” in the upper-left corner and then selecting the missing windows.)
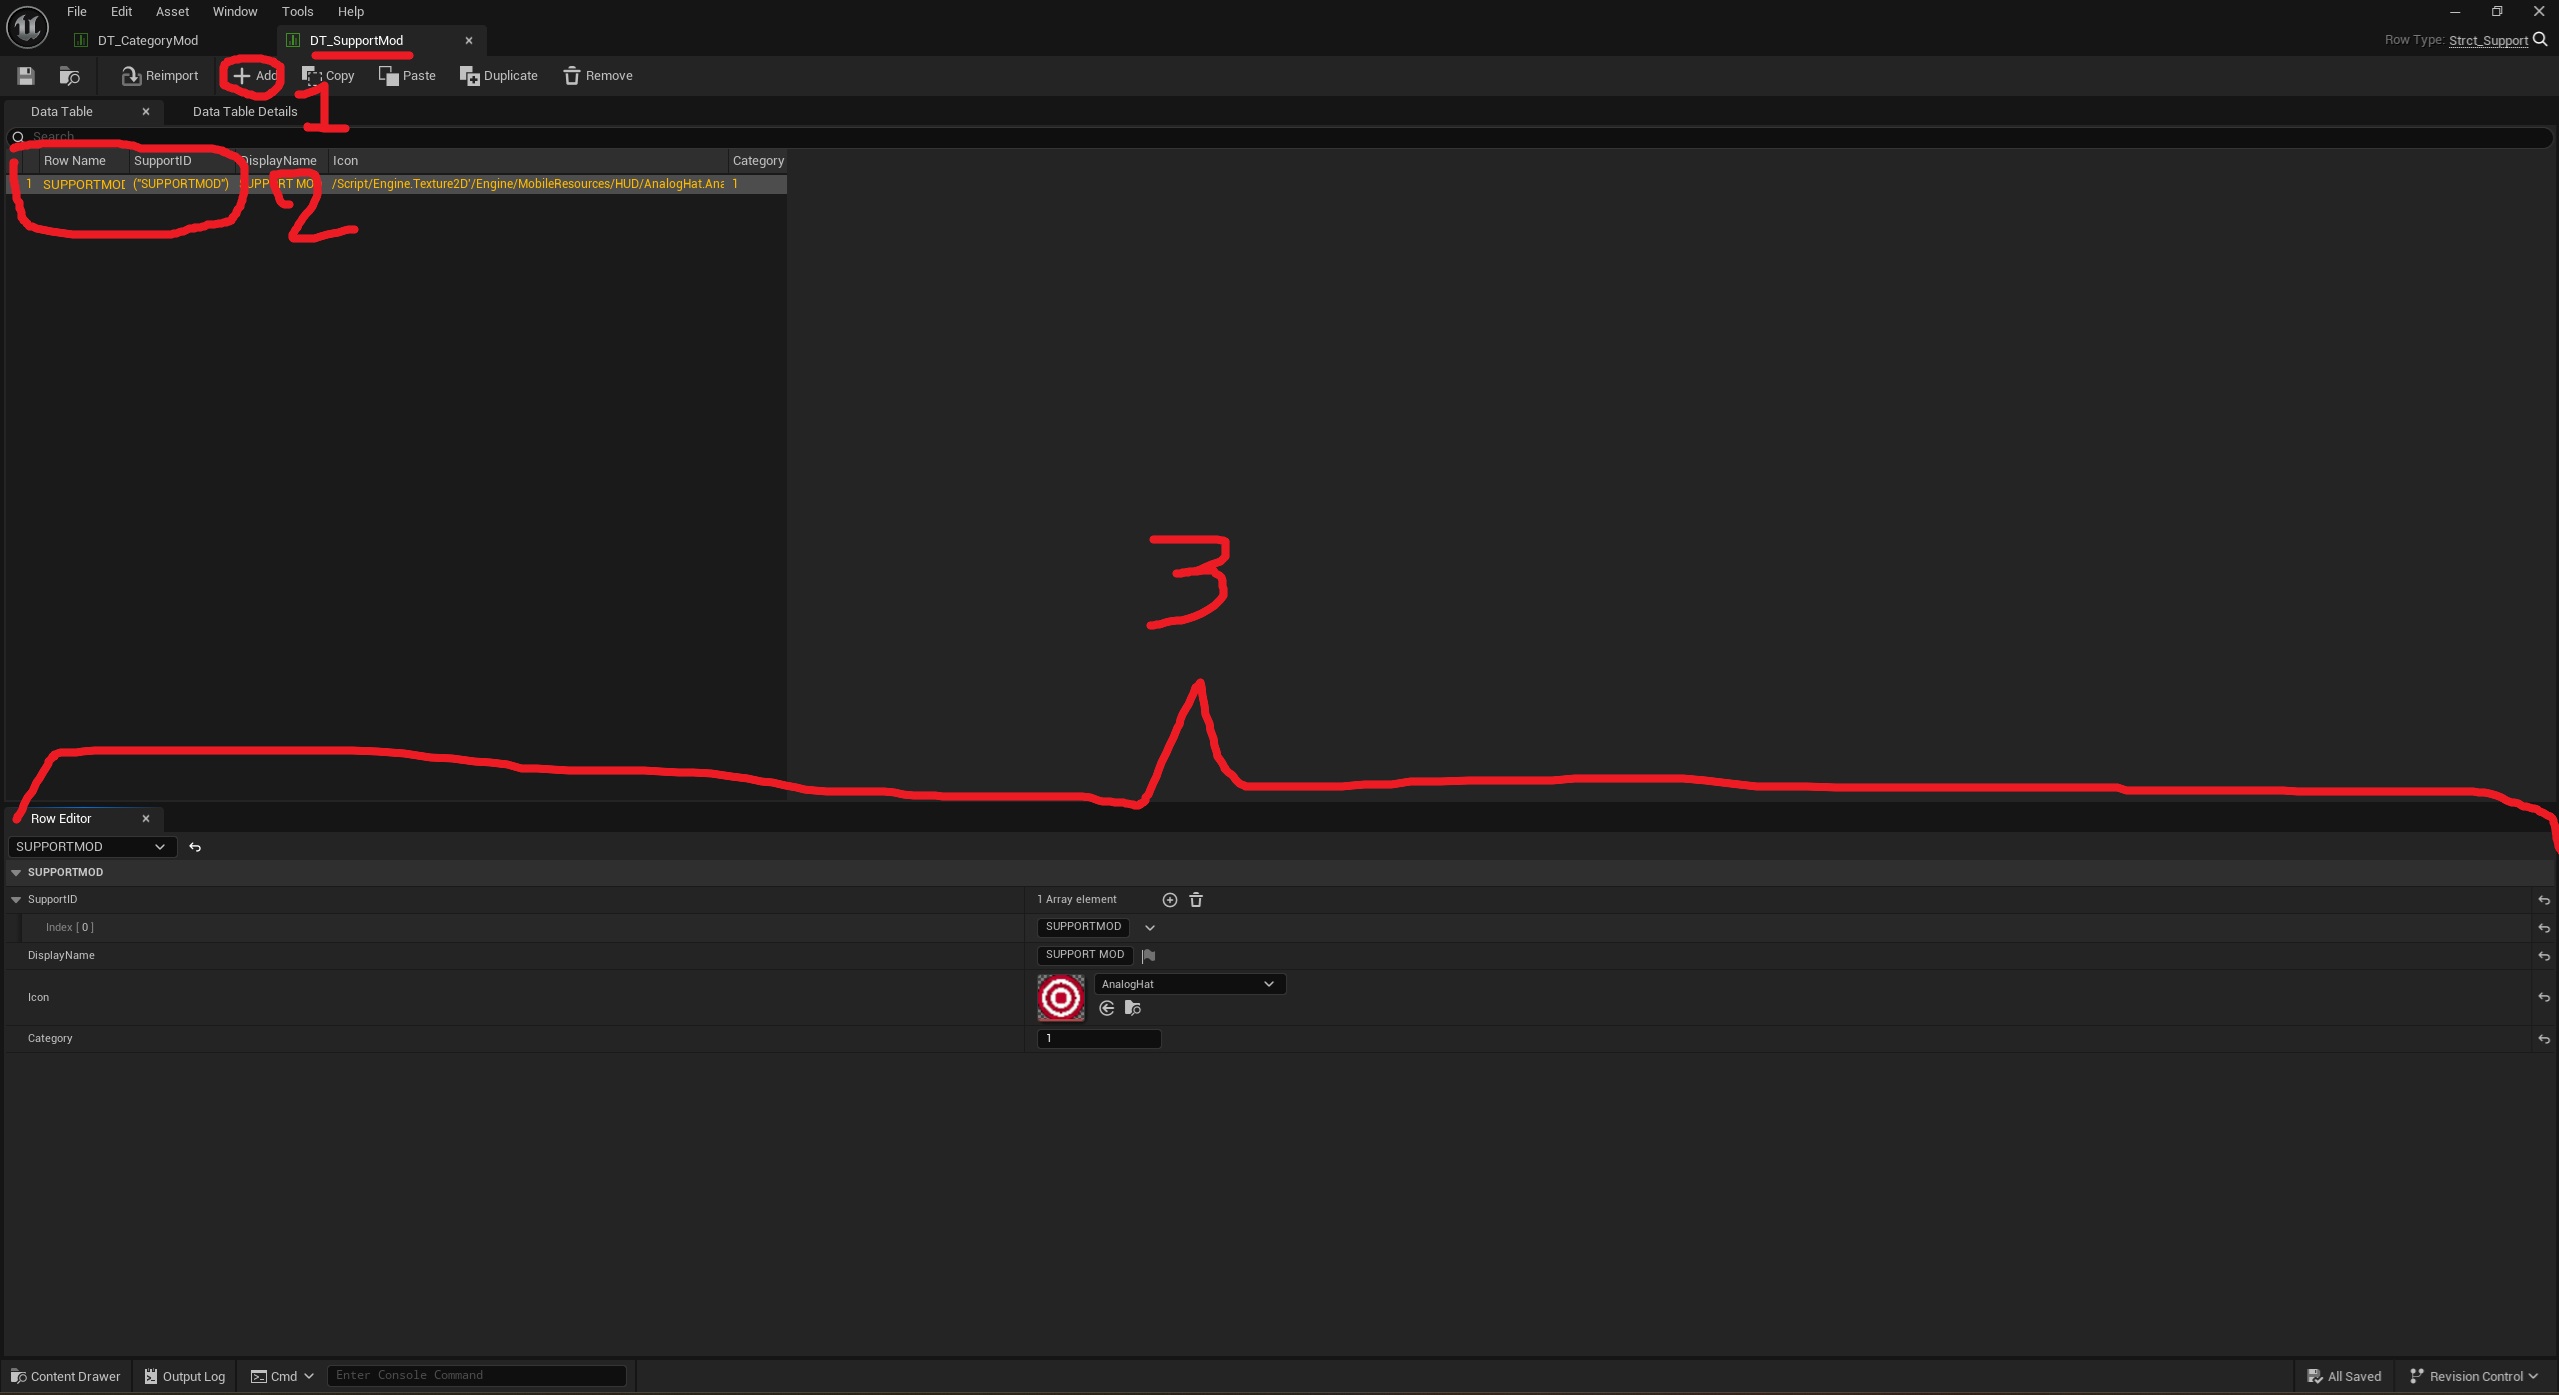
So first, you need to create a unique identifier for each group of support; each row of data corresponds to a group of support who all will display the same image.
(This ID should be as short as possible and must not contain spaces, special characters, or accents.)
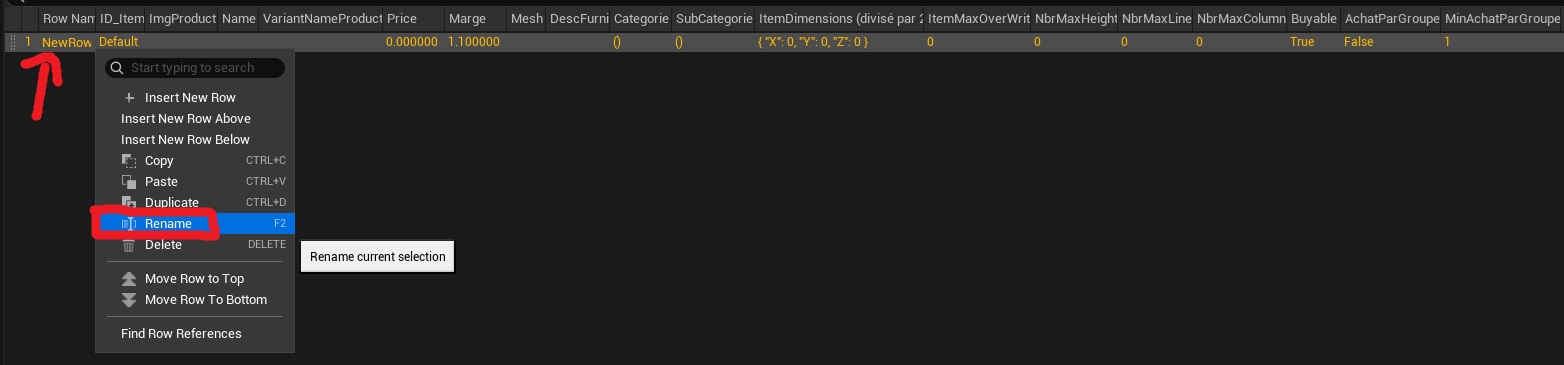
You can assign an ID to a line by right-clicking on it and selecting “Rename.”
Next, you can move on to the bottom section with all the variables to set. Here's what the tab looks like in the image:
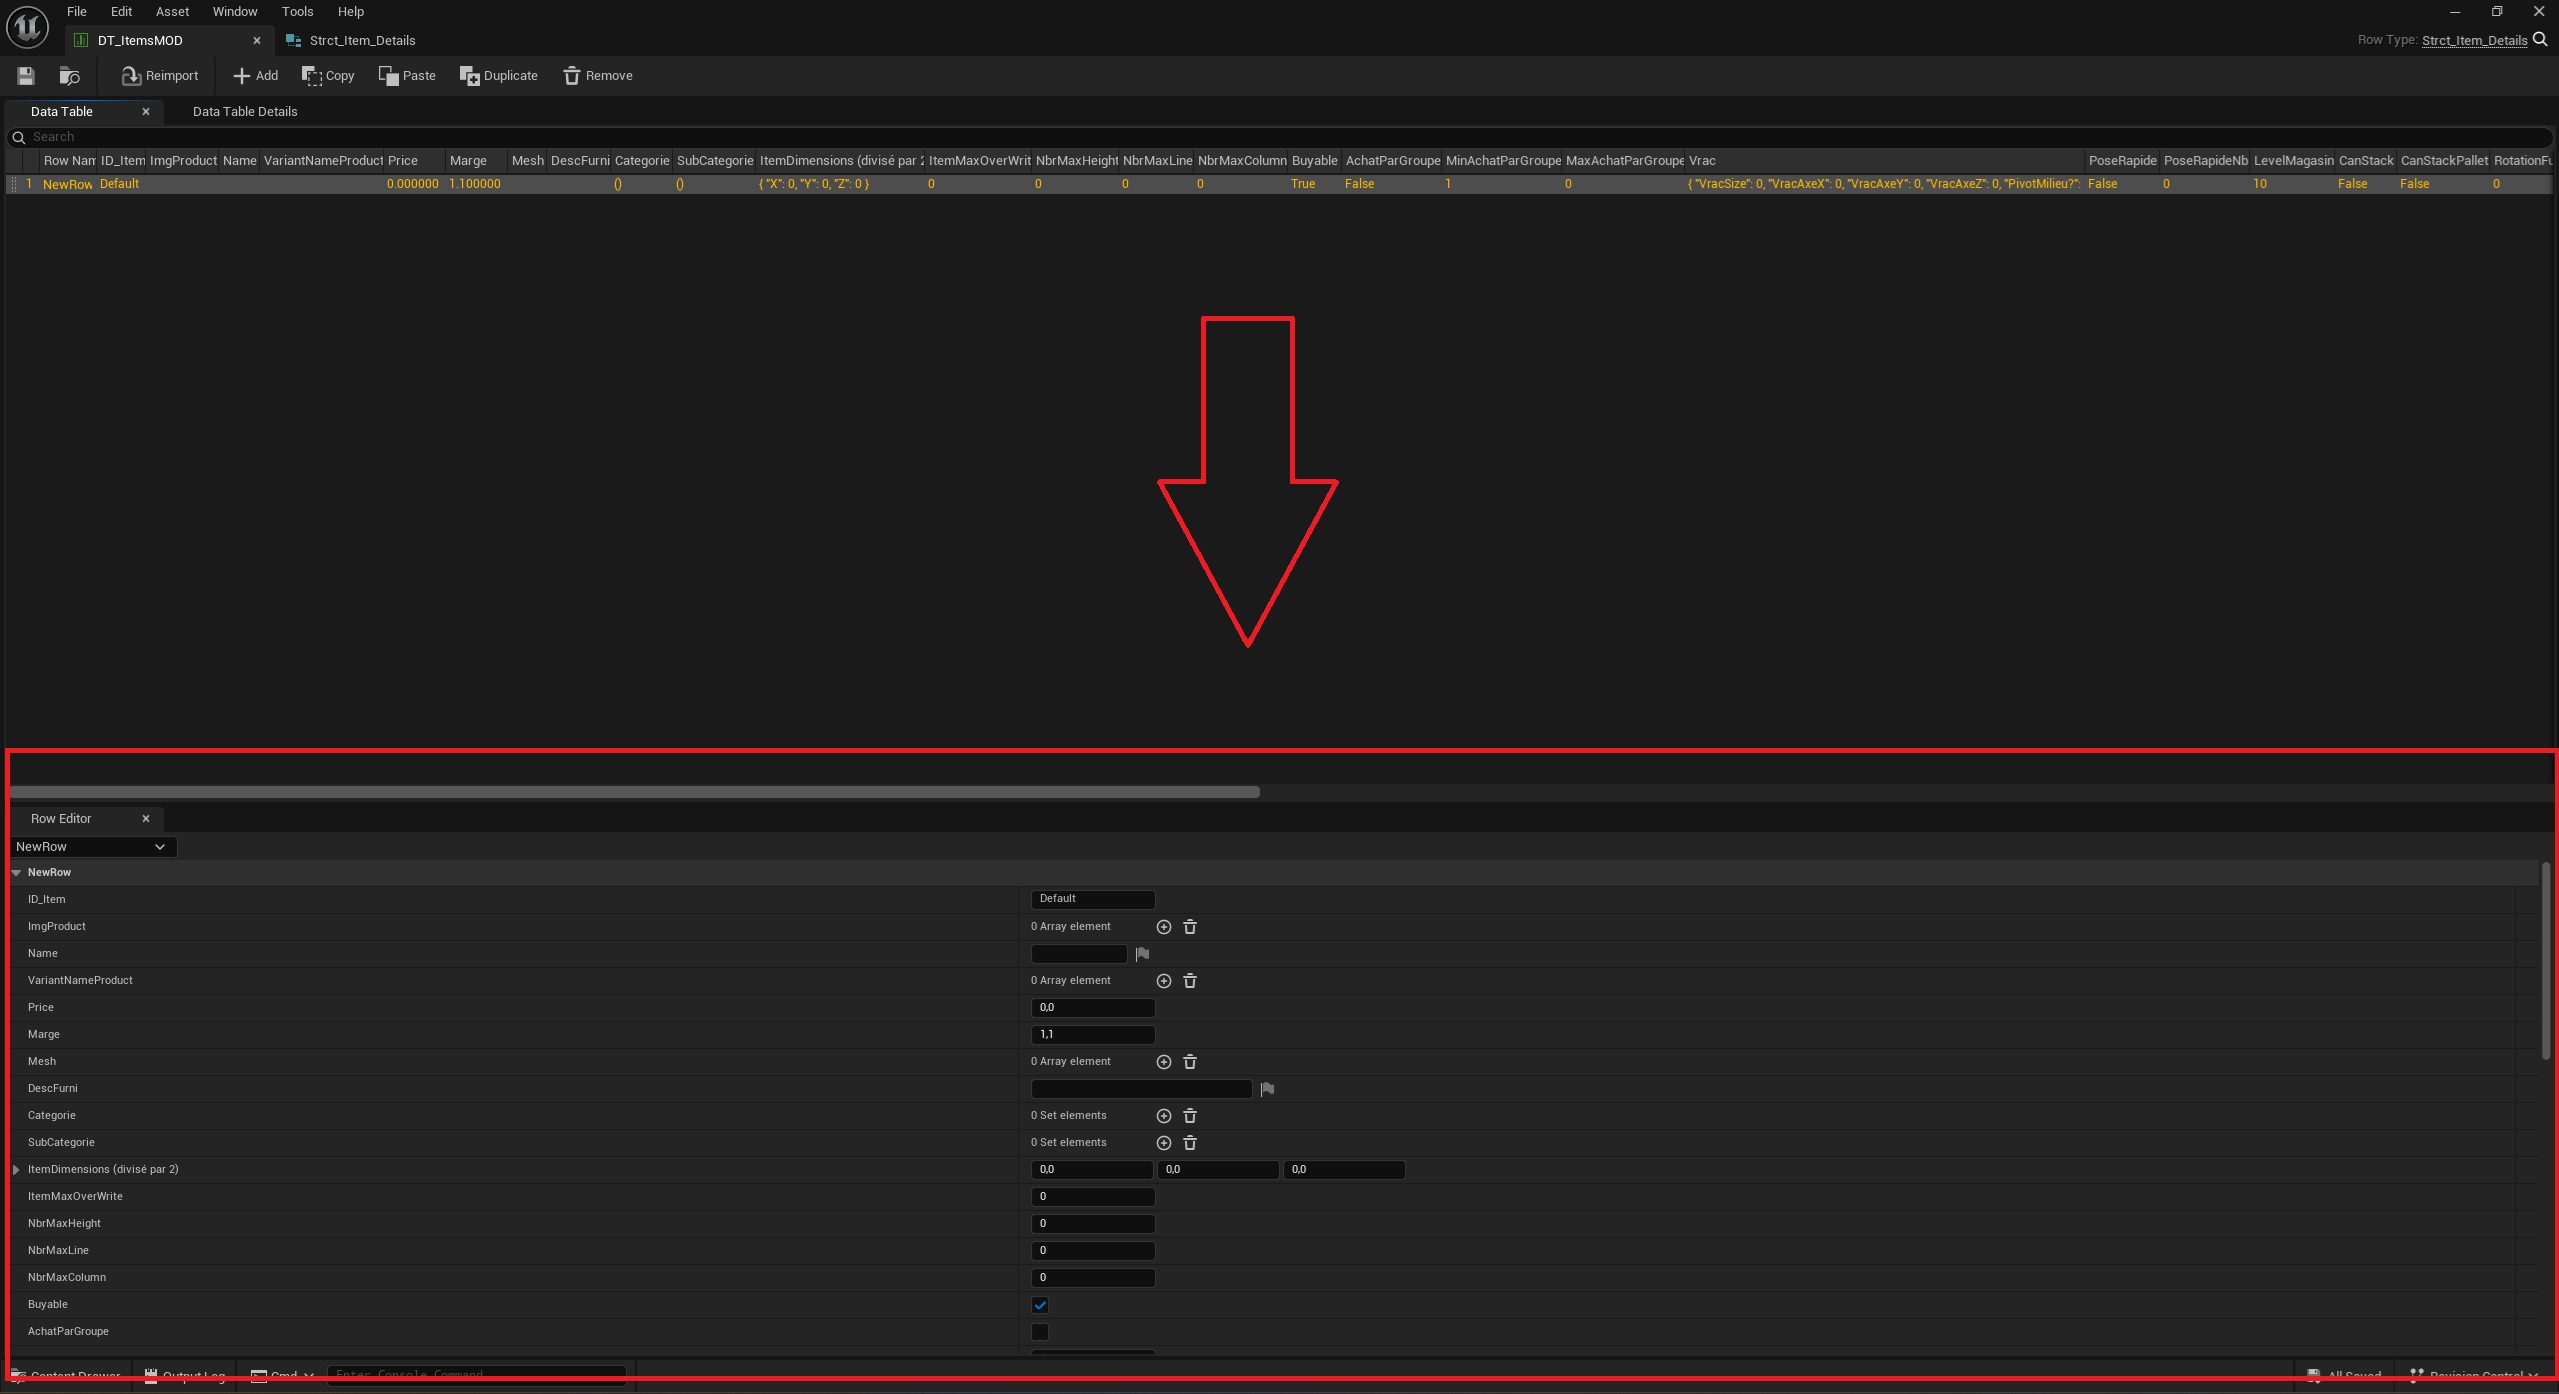
Here is a list of all the variables, along with their types and how to initialize them correctly:
Array of Name - Here you can place all the support that will display the same image
Texture 2D - Here you can add an image you've imported that will represent the support and that players will see.
Integer - This is the support that appears in the support sorting section of the store menu. You cannot create new ones at this time, so here are the existing categories: